
Azure AD application provisioning refers to automatically creating user identities, groups and roles in the applications that users need access to for accounts created in Azure AD. Snowflake supports Microsoft Azure AD as a System for Cross-domain Identity Management (SCIM) identity provider.
In addition to creating user identities, automatic provisioning includes the maintenance and removal of user identities as status or roles change, common scenarios include provisioning an Azure AD user into SaaS applications using SCIM.
A pre-requisite for automatic provisioning in Snowflake is a full integration of Azure AD SSO configuration as discussed here. Features supported in automatic provisioning are
- Single Sign-On to Snowflake
- Manage user attributes synchronized between Azure AD and Snowflake
- Provision groups and group memberships in Snowflake
- CONFIGURE IDENTITY PROVIDER FOR SNOWFLAKE SINGLE SIGN-ON
- Login to Snowflake using AccountAdmin role
- Create SAML Identity Provider for Azure AD
- Use the Azure AD token for the certification with out any white space excluding the BEGIN and END
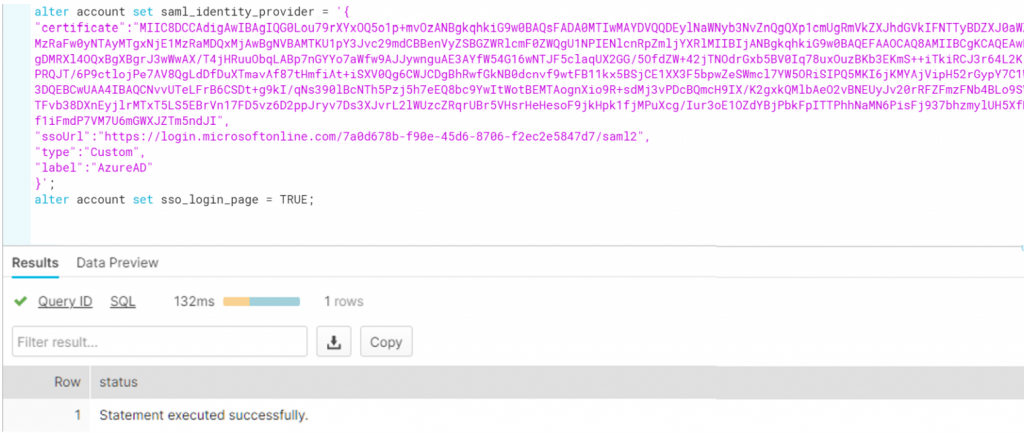
- VERIFY SAML_IDENTITY_PROVIDER is created in Snowflake by running below show command
- show parameters like ‘SAML_IDENTITY_PROVIDER’ in account;
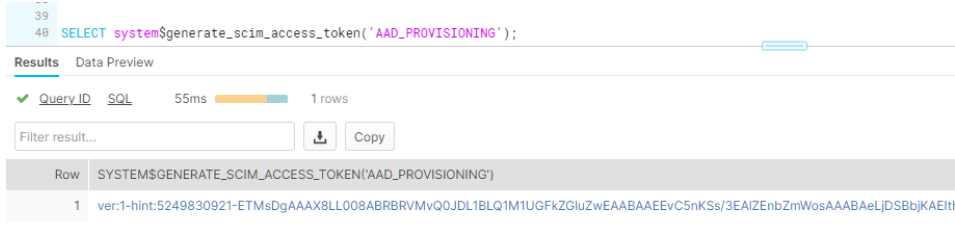
- GENERATE SCIM access token in Snowflake by running below commands
- Create a role called aad_provisioner and grant necessary roles to it
- Create SCIM security integration & associate the role

- Run system$generate_scim_access_token query and copy the token output
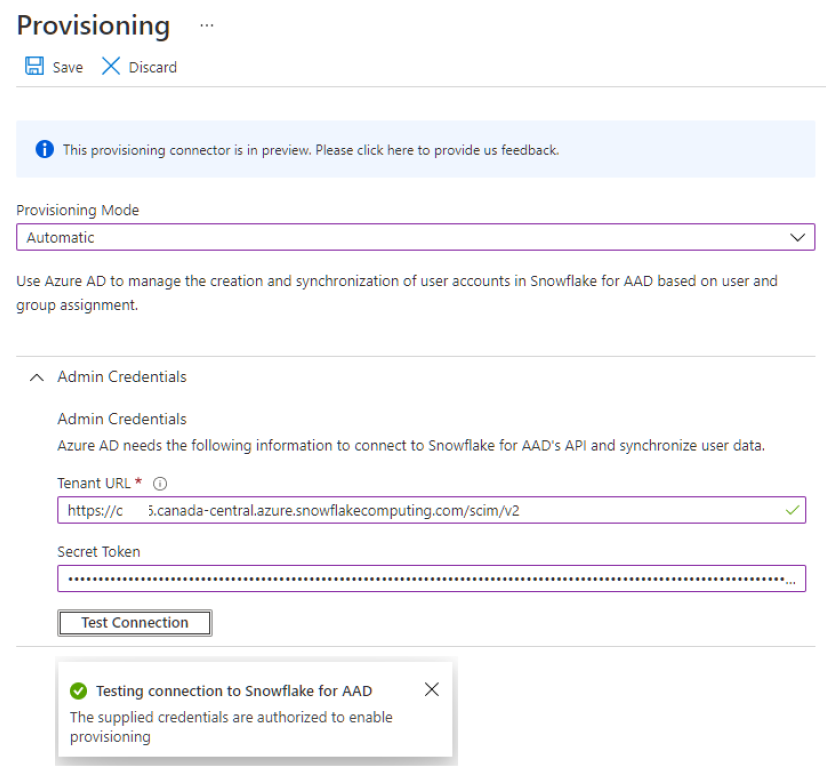
- In Azure Active Directory, enable automatic provision
- AAD > Snowflake for AAD > Provisioning
- In Provisioning
- Set Provisioning mode to AUTOMATIC
- Place the Azure URL value in the admin credentials
- Paste the security token from above in secret token
- Test connectivity & save configuration
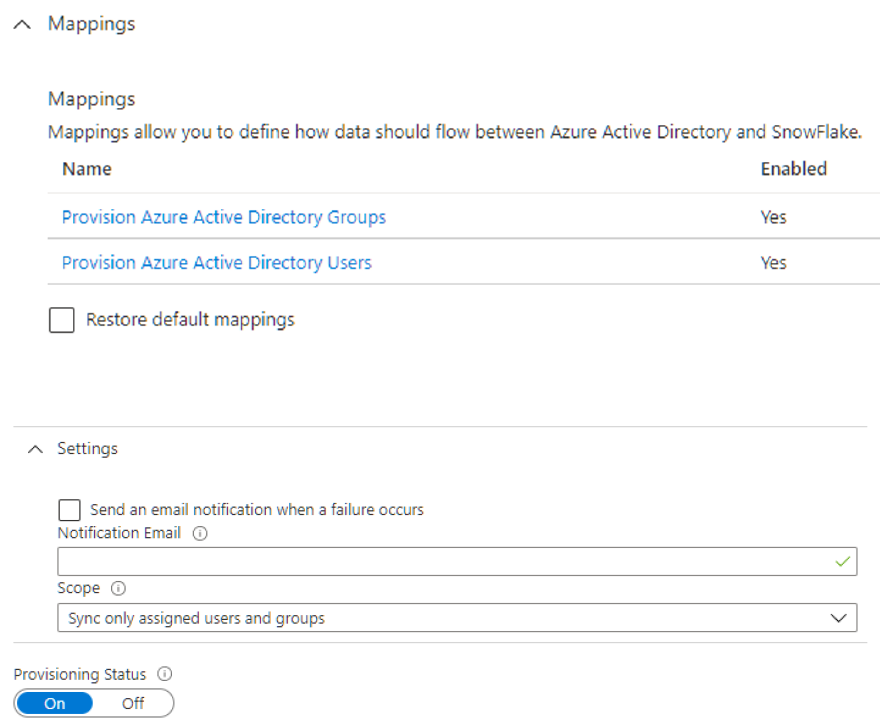
- Set Mappings Enabled to YES
- In setting scope, choose “Synch only assigned users and groups“
- Turn Provisioning Status to ON
- Save & Exit
- Review the initial synch cycle & log, this should be 100% complete following all Azure AD account synchronized to Snowflake
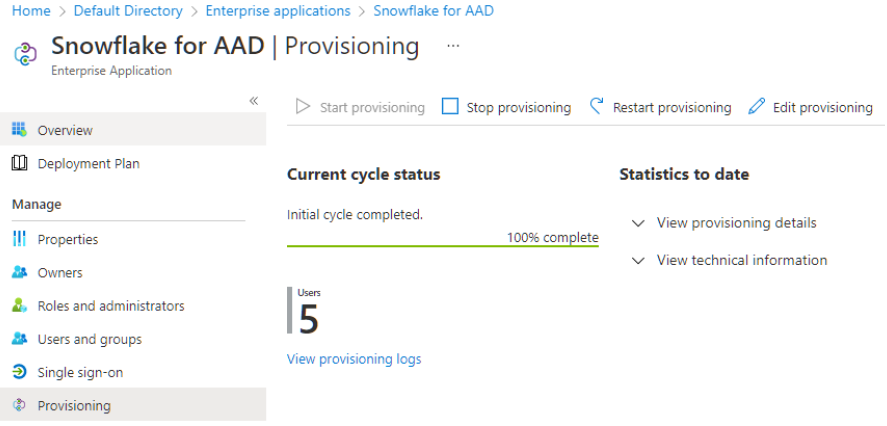
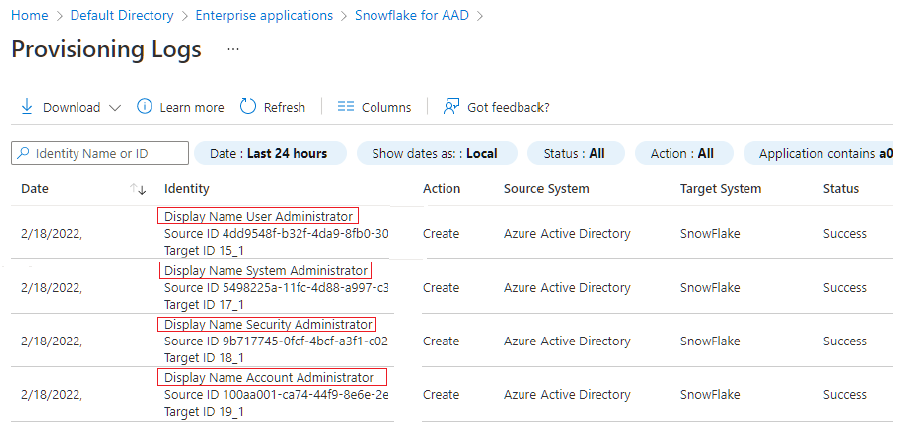
- Click on VIEW PROVISIONING LOGS and verify all accounts are synched
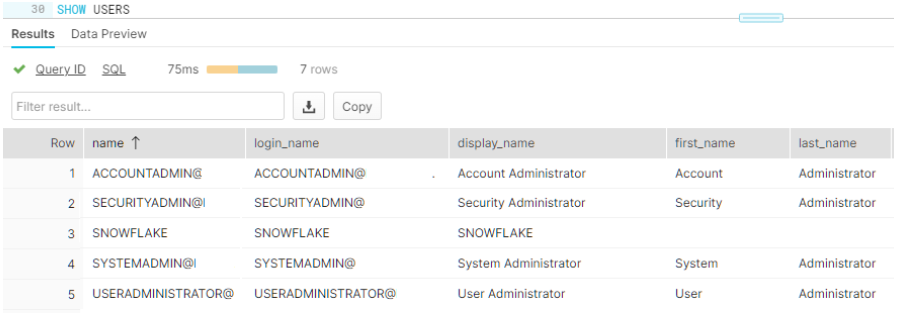
- Run “SHOW USER” in Snowflake & confirm account status
- In browser run the snowflake url as below
- https://<account #>.snowflakecomputing.com/console/login?fedpreview=true
- Login to Snowflake using Azure AD single sign-on
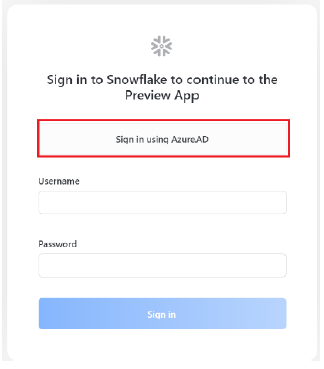
If all the above configuration were successful, users will be able to login to Snowflake worksheet using Azure AD accounts.